First, register for a new Vaultrice account. You'll need to provide a username and email to create your user profile.
Quick Start Guide
Welcome to Vaultrice! This guide will walk you through the entire process, from creating your account to storing your first piece of data and seeing it update in real-time.
Setting Up Your Project in the Management UI
Before you can use the SDK, you need to create a project and get your API credentials.
Sign Up

Create an Account
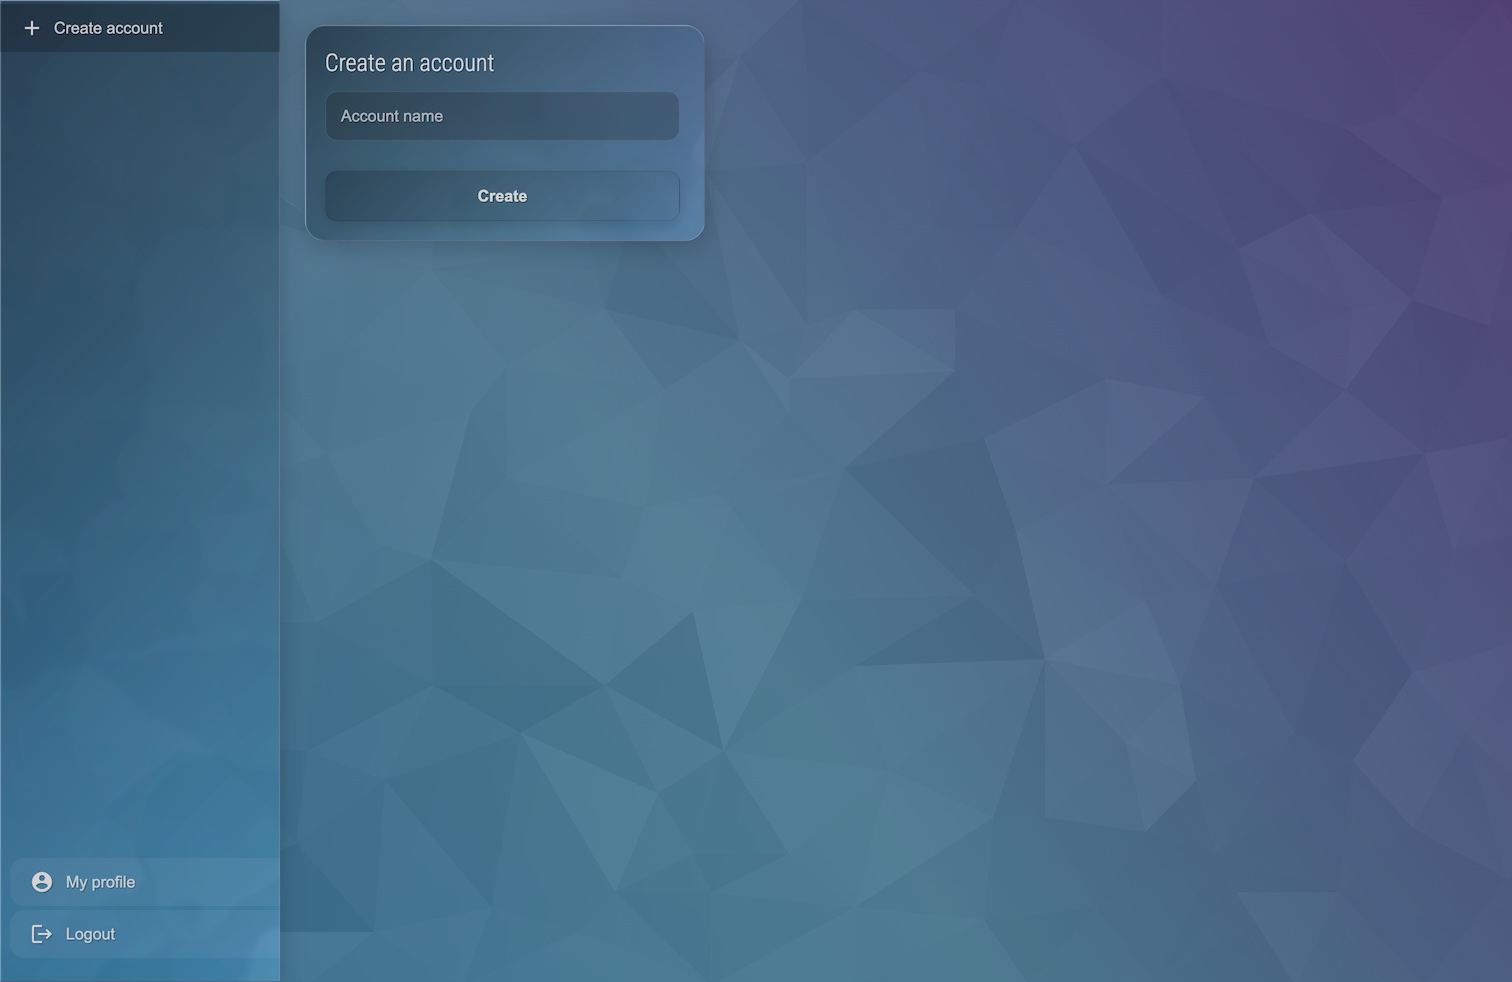
After registering your user, you'll be prompted to create an Account. An account is a container for your projects, billing information, and team members. Give it a name, like your company or team name.

Create Your First Project
Inside your new account, create a Project. A project holds a distinct set of data and has its own API keys. When you create a new project, Vaultrice automatically creates a default Durable Cache Class named _undefined_ for you to use immediately.

Get Your Credentials
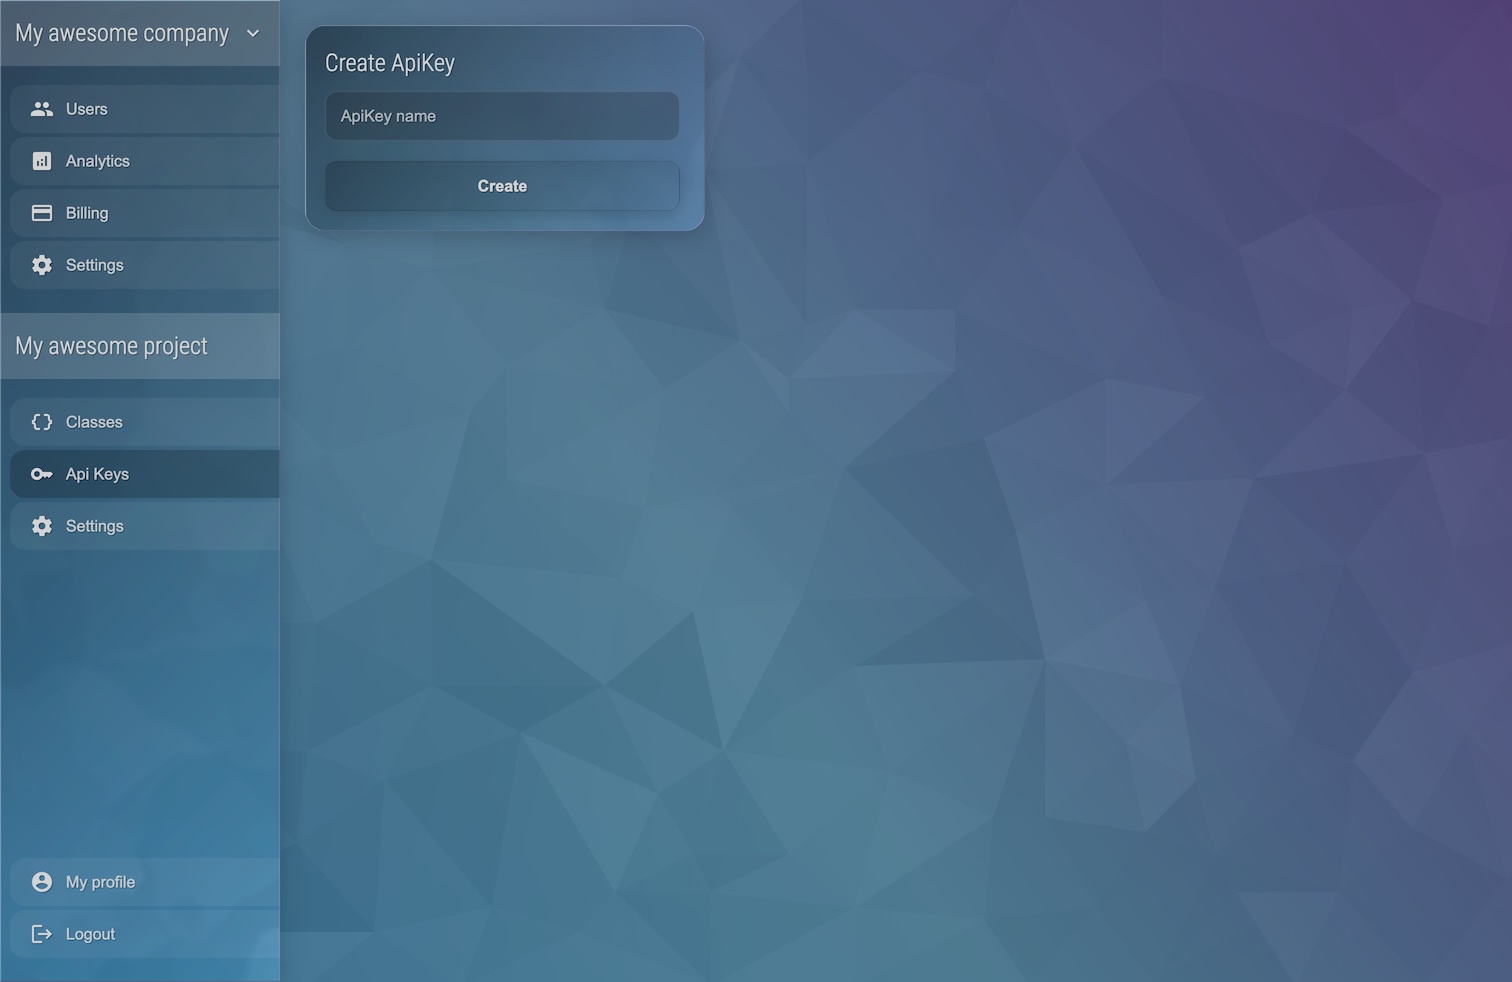
Navigate to the API Keys section in your project menu section and create a new API key. Give it a descriptive name to help you identify its purpose later.

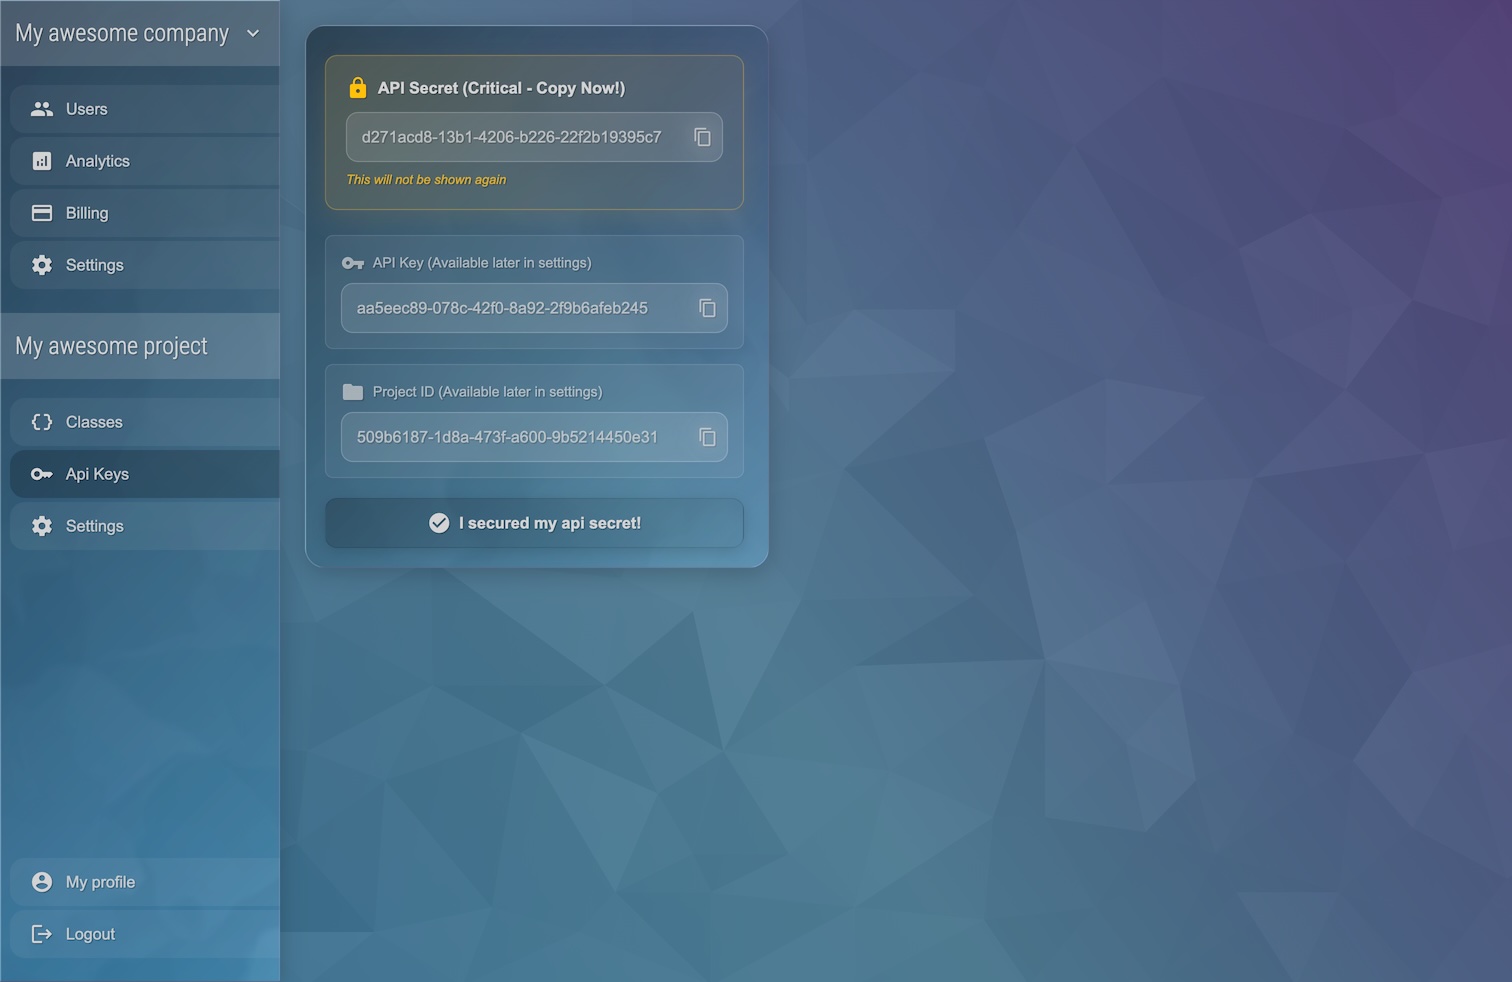
After creating your API key, you'll be shown the API Secret once. Make sure to copy and save it securely - it won't be shown again for security reasons. You'll also find your API Key and Project ID on this page, which you'll need along with the API Secret to use the SDK and/or API.

Using the SDK in Your Application
Now that you have your credentials, you can integrate the Vaultrice SDK into your application.
Installation
Open your terminal and add the Vaultrice SDK to your project using npm.
npm install @vaultrice/sdkInitialize the Client
Import the NonLocalStorage client into your JavaScript or TypeScript file. Use the credentials you obtained in Step 4 (or, the accessToken if you prefer the access token authentication method) to create a new client instance.
import { NonLocalStorage } from '@vaultrice/sdk';

const credentials = {
  apiKey: 'your-api-key-from-the-dashboard',
  apiSecret: 'your-api-secret-from-the-dashboard',
  projectId: 'your-project-id-from-the-dashboard'
};

// Create an instance linked to a specific object ID
const nls = new NonLocalStorage(credentials, 'my-first-object');Store and Retrieve Data
The API is designed to be familiar, like the browser's localStorage API. You can use setItem to store a value and getItem to retrieve it.
setItem(key, value): Stores a value associated with a key.getItem(key): Retrieves an object containing the{ value, expiresAt, createdAt, updatedAt }.
// Store a simple string value
await nls.setItem('username', 'Ada Lovelace');

// Retrieve the stored item
const user = await nls.getItem('username');

if (user) {
  console.log(user.value); // Outputs: 'Ada Lovelace'
}Listen for Real-Time Updates
One of the most powerful features of Vaultrice is its ability to listen for changes in real-time. When one client changes a value, all other clients listening to that same object will be notified instantly via WebSockets.
Use nls.on('setItem', ...) to subscribe to changes.
// This listener will fire whenever 'username' is changed by any client
nls.on('setItem', 'username', (item) => {
  console.log(`The username was updated to: ${item.value}`);
  // You can now update your UI in real-time
  document.getElementById('username-display').innerText = item.value;
});

// If another user on another device runs the following line...
// await nls.setItem('username', 'Grace Hopper');
// ...the message "The username was updated to: Grace Hopper" will appear in your console.🎉 Congratulations!
You've now successfully created a project, integrated the SDK, and handled real-time data!
